Enter the size of the attic floor, pick fiberglass or cellulose and the R-value you want to reach. If there is already insulation up there, choose its R-value and the calculator estimates only what you need to add. It uses the manufacturer’s coverage chart for the bag size shown, because bags of different brands cover very different areas.
How the blown-in insulation calculator works
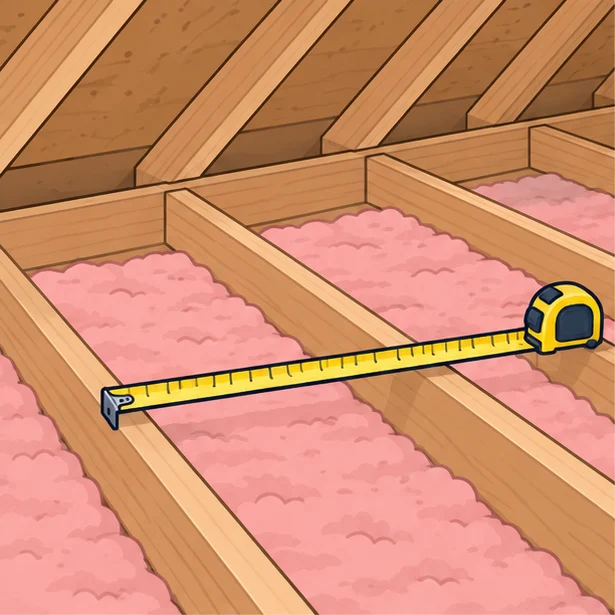
- Area = length × width of the attic floor you will cover.
- Bags = area ÷ 1,000 × bags per 1,000 sq ft for the target R-value, rounded up. For a top-up, the bags for the existing R-value are subtracted.
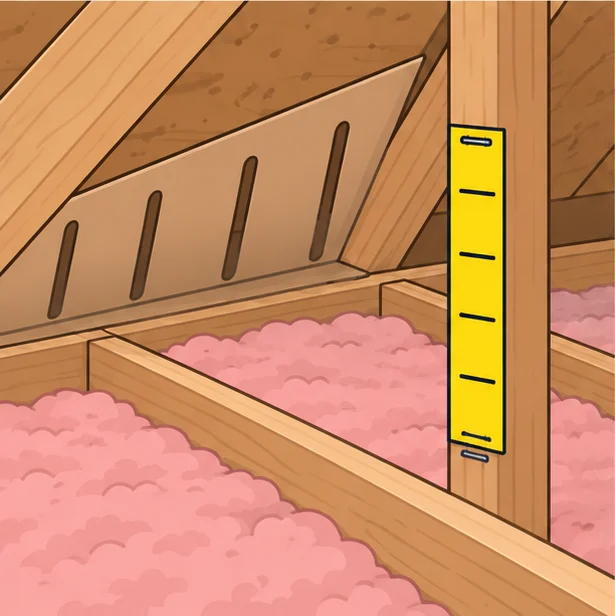
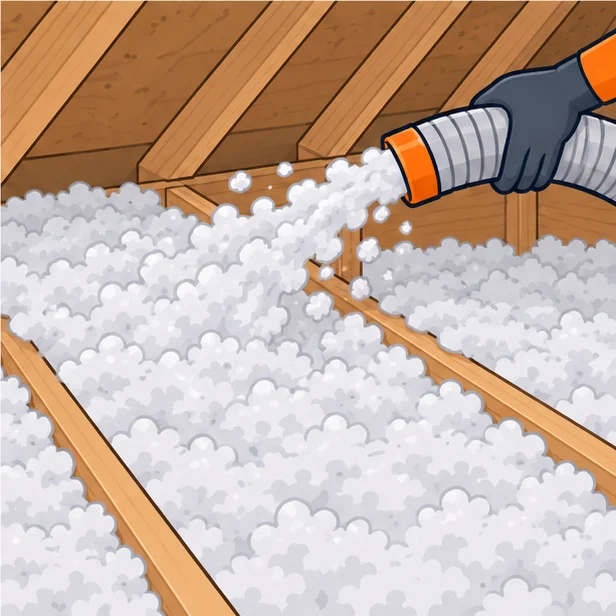
- Depth is the thickness to blow for that R-value. Cellulose is blown deeper and settles to a minimum depth; both are shown.
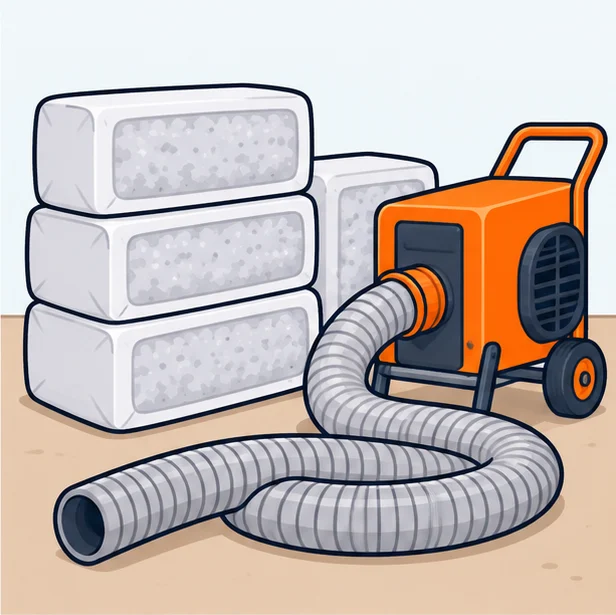
The fiberglass figures are from the Owens Corning PINK blown-in chart for a 27.5 lb bag (the product used with the AttiCat machine). The cellulose figures are from the GreenFiber attic chart for a 30 lb bag, using the minimum bags per 1,000 sq ft without a framing adjustment. Manufacturers say you need both the minimum number of bags and the minimum depth to reach the labeled R-value.
Bags per 1,000 square feet by R-value
| R-value | Fiberglass bags (27.5 lb) | Fiberglass depth | Cellulose bags (30 lb) | Cellulose depth, installed / settled |
|---|---|---|---|---|
| R-19 | 9 | 7 in | 18.8 | 5.7 / 5.3 in |
| R-22 | 11 | 8 in | 21.9 | 6.6 / 6.1 in |
| R-30 | 15 | 10.75 in | 32.2 | 8.9 / 8.3 in |
| R-38 | 19 | 13.5 in | 43.9 | 11.2 / 10.4 in |
| R-44 | 23 | 15.5 in | 52.9 | 12.9 / 12.0 in |
| R-49 | 25 | 17 in | 60.5 | 14.3 / 13.3 in |
| R-60 | 32 | 20.5 in | 77.1 | 17.3 / 16.1 in |
Worked example
A 30 × 40 ft attic has 1,200 sq ft of floor with about R-19 of old insulation. To reach R-49 with fiberglass, the chart gives 25 bags per 1,000 sq ft for R-49 and 9 for R-19, so you add 16 bags per 1,000 sq ft: 1.2 × 16 = 19.2, or 20 bags, blown about 10 in deeper. Insulating the same empty attic to R-49 with cellulose takes 1.2 × 60.5 = 72.6, so 73 bags, blown about 14.3 in deep.
What R-value should you aim for?
The U.S. Department of Energy lists these levels for attics, by climate zone. The second column is how much to add when there are already 3 to 4 inches of insulation. Check your local energy code too.
| Climate zone | Uninsulated attic | Add to 3–4 in of existing insulation |
|---|---|---|
| 1 | R-30 to R-49 | R-19 to R-38 |
| 2 and 3 | R-49 to R-60 | R-38 to R-49 |
| 4 to 8 | R-60 | R-49 |
Step by step: estimating and blowing attic insulation
Tips before you buy
- Seal air leaks around pipes, wires and light fixtures before adding insulation, as the Department of Energy recommends.
- Keep insulation away from chimneys and recessed lights that are not rated for contact with insulation, and do not block soffit vents.
- Buy a few extra bags and return unopened ones, so you are not short partway through.
- For walls and other open framing, batts are usually easier; use the batt insulation calculator for those.